

Transforming a boring room into a stunning architectural space does not require a contractor or a massive budget. Many homeowners want to add texture and warmth to their living areas but feel intimidated by complex carpentry projects. Learning how to build a horizontal wood slat wall provides the perfect solution for elevating your interior design with minimal stress. This straightforward weekend project adds immediate visual interest, depth, and character to bedrooms, living rooms, and home offices.
We will break down the entire process into manageable phases that anyone can tackle with basic tools and a little patience. You will discover exactly what materials you need and how to install them flawlessly for a professional finish. By following this guide, you will gain the confidence to upgrade your home and create a beautiful focal point that guests will admire.
Why Build A Horizontal Wood Slat Wall
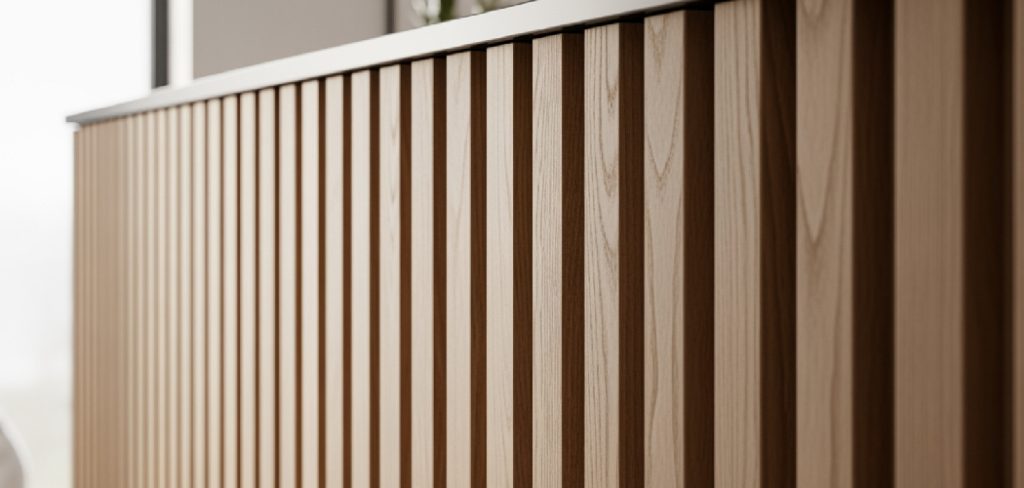
Adding wooden elements to your interior spaces brings a natural, grounding energy that standard drywall simply cannot replicate. A slatted feature instantly introduces warmth and organic texture, breaking up the flat surfaces common in modern home construction. The horizontal orientation specifically creates an optical illusion that makes narrow rooms appear significantly wider and more expansive.
Beyond pure aesthetics, this structural addition offers excellent practical benefits for your daily living environment. The wooden boards create an acoustic barrier that helps absorb sound, making the feature perfect for media rooms or home recording studios. You can also use the slight gap behind the slats to cleverly hide unsightly television cables and ambient accent lighting.
This specific project also provides an incredible return on your investment when improving your property value. Custom woodwork highly appeals to potential buyers and gives your home a premium, custom-built appearance. You achieve the look of an expensive luxury renovation for a fraction of the cost by completing the labor yourself.
Step-by-Step Guide: How to Build a Horizontal Wood Slat Wall
Step 1: Begins With Meticulous Measurement
A successful carpentry project always begins with meticulous measurement and spatial planning. You must first measure the total width and height of your designated area using a reliable steel tape measure. These specific dimensions dictate exactly how much lumber you need to purchase from your local hardware store.
Take time to decide on the exact width of your wooden boards and the gap size you want between them. A wider board with a narrow gap creates a more solid, traditional appearance. A narrow board with a wider gap provides a very modern, airy aesthetic. Write down your final dimensions and board preferences in a notebook to take with you to the lumber yard.
Step 2: Gathering The Right Materials
Acquiring the proper tools and supplies ensures your installation proceeds smoothly without frustrating interruptions. You need to purchase enough straight pine or oak boards to cover your entire surface area, plus ten percent extra for accidental cutting errors. You will also need a high-quality stud finder, a long spirit level, and a reliable tape measure.
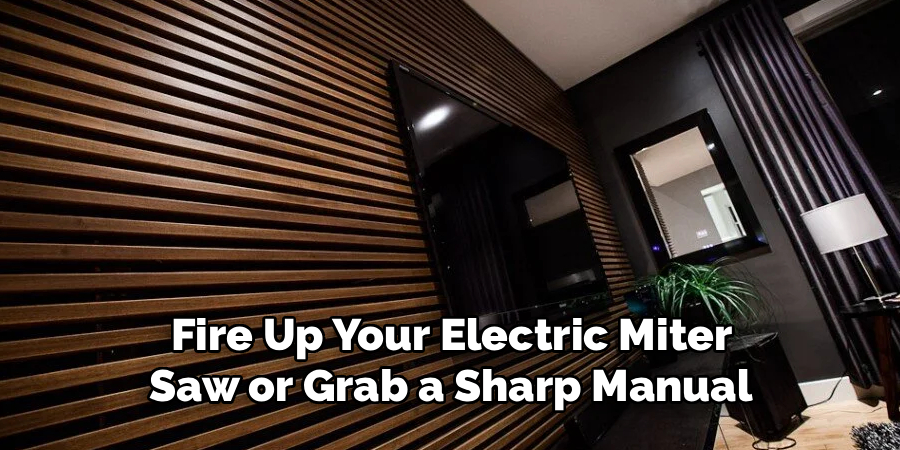
For the actual installation, you must secure a pneumatic brad nailer and an air compressor, or a battery-powered nail gun. Grab a box of two-inch brad nails, premium wood glue, and your preferred wood stain or interior paint. Finally, purchase a few inexpensive wooden dowels or plastic spacers to ensure consistent gaps between every single board.
Step 3: Preparing Your Blank Wall
You must prepare your canvas properly before attaching any heavy wooden elements to the surface. Start by removing all outlet covers, light switch plates, and existing baseboards from the area. Clean the entire surface thoroughly with a damp rag to remove any accumulated dust, cobwebs, or hidden grease spots.
Many designers recommend painting the drywall a dark color like charcoal or black before adding the wooden boards. A dark background recedes visually and makes the natural wood tones pop out dramatically. Apply two coats of your chosen background color and let the paint dry completely for at least twenty-four hours before proceeding.
Step 4: Painting Or Staining The Wood Boards
Applying your chosen finish to the lumber before attaching it to the drywall saves you hours of tedious work. Set up a well-ventilated workspace in your garage or driveway using two sturdy sawhorses. Lay out several boards at a time and sand them lightly with medium-grit sandpaper to remove rough factory edges.
Apply your wood stain or paint using a high-quality brush, working carefully along the natural grain of the lumber. Make sure you coat the front face and both long edges of every single board. You do not need to finish the back side since it will sit completely flush against the drywall. Let the finish dry overnight before bringing the lumber inside.

Step 5: Locating And Marking Your Wall Studs
Attaching heavy lumber directly to unsupported drywall will eventually cause your beautiful feature to rip out and collapse. You must anchor the new wooden boards directly into the vertical wooden studs hidden behind the plaster. Turn on your electronic stud finder and slide it slowly across the surface near the floor.
When the device beeps to indicate a hidden support beam, mark the exact center with a pencil. Continue this process across the entire width of the room, as studs typically sit sixteen inches apart. Use a long straight edge and a pencil to draw vertical lines all the way up to the ceiling, giving you clear nailing targets.
Step 6: Installing The First Bottom Board
The very first board you attach dictates the straightness and quality of the entire remaining project. Measure the total width of your space and cut your first board to the exact required length using a miter saw. Apply a thin, wavy bead of construction adhesive to the unpainted back side of the wood.
Place the board against the bottom of the drywall and rest your spirit level on the top edge. Adjust the wood until the leveling bubble sits perfectly in the center, ignoring the floor if it happens to be uneven. Shoot two brad nails through the board and directly into every vertical pencil line you drew previously.
Step 7: Spacing And Attaching Remaining Boards
With your perfect foundation established, you can now move rapidly up the surface toward the ceiling. Cut your next board to the required length and apply construction adhesive to the back side. Rest your chosen spacers directly on top of the first board to establish your designated gap.

Place the second board on top of the spacers and press it firmly against the drywall. Shoot brad nails through the wood and into your marked studs, just as you did with the foundation piece. Remove the spacers, move them up to the top of the new board, and repeat this process until you reach the ceiling.
Frequently Asked Questions
What Type Of Wood Works Best For This Project?
Pine represents the most popular and cost-effective choice for indoor decorative carpentry projects. It takes stain beautifully, remains relatively lightweight, and cuts easily with standard household saws. If you have a larger budget, white oak provides a premium, luxurious finish with gorgeous natural grain patterns. You should always avoid heavy pressure-treated lumber, as it contains harsh chemicals meant for outdoor use and will warp as it dries indoors.
Do I Need To Remove Existing Baseboards?
Removing the existing baseboards allows your new feature to look like a built-in architectural element rather than an afterthought. You want the bottom board to sit nearly flush with the floor for the cleanest possible aesthetic. Use a utility knife to score the caulking around your old baseboards, then pry them away gently with a flat bar. You can always reinstall them over the new slats if you prefer a traditional finished edge at the floor level.
Can I Install This Over Textured Drywall?
You can absolutely install this decorative feature directly over heavy knockdown or popcorn textures without sanding them flat first. The wooden boards will bridge across the uneven peaks and sit securely against the structural studs. However, you should definitely paint the textured surface a dark color before installation to camouflage the bumps. The shadows created by the gaps between the boards will completely hide the original texture from view.
How Do I Calculate The Number Of Boards Needed?
You must determine the total square footage of your space by multiplying the width by the height in inches. Next, add the width of one wooden board to the width of your planned gap to find your total unit width. Divide the height of your wall by this unit width to determine exactly how many rows you need. Multiply the number of rows by the total width to calculate your total linear footage of lumber required.
What Is The Best Spacing Between Each Board?
The ideal spacing depends entirely on your personal design preferences and the width of your chosen lumber. Most professional designers recommend a gap somewhere between half an inch and three-quarters of an inch. This specific measurement provides enough shadow to create visual depth without exposing too much of the background surface. Using standard items like a stack of coins or a piece of scrap wood makes excellent, consistent spacers during the installation process.
Conclusion
Upgrading your living space with custom woodwork provides an incredibly satisfying sense of personal accomplishment. You now understand exactly how to measure, prepare, and execute this project safely and effectively. Securing your boards to the structural studs ensures your beautiful new feature remains safe and durable for decades to come.
Do not let empty, boring surfaces diminish the comfort and style of your home any longer. Grab your tape measure today and apply what you learned about how to build a horizontal wood slat wall to start planning your room transformation. Start gathering your materials this weekend and create an inspiring environment that perfectly reflects your personal design taste.
