

Dealing with office equipment can sometimes feel incredibly frustrating, especially when you face unexpected error messages just before an important deadline. Many people struggle with basic hardware maintenance, leading to annoying jams and wasted expensive materials. Understanding how to load paper in printer correctly eliminates these common daily struggles and keeps your workflow moving smoothly. We will break down this seemingly simple but crucial task into easy, manageable actions that anyone can master in minutes.
You do not need technical support experience to keep your device running perfectly every single time you hit the print button. We will guide you through the exact process required to arrange and secure your materials with absolute confidence. Grasping these fundamental physical techniques saves you significant time, money, and unnecessary stress in your home or professional office.
Why Proper Paper Loading Matters
Most people assume that tossing a stack of blank sheets into the tray is enough to guarantee a perfect document. However, modern printing devices rely on incredibly precise internal rollers and sensors that require perfectly aligned materials to function properly. When you insert your sheets carelessly, the internal mechanisms grab multiple pages at once, resulting in massive internal jams. Clearing these severe jams wastes precious time and often leads to tearing, which leaves tiny debris inside the delicate moving parts.
Beyond preventing mechanical failures, proper alignment ensures your text and images print perfectly straight on the page. Crooked documents look highly unprofessional and immediately diminish the impact of your important business reports or school assignments. Taking the time to adjust the guides correctly guarantees your margins remain perfectly balanced from the first page to the last. You maintain a highly professional appearance in all your physical documents simply by treating the hardware properly.
Step-By-Step Guide To Preparing Your Device
Step 1: Gather Your Necessary Supplies
Preparation ensures the entire maintenance process flows smoothly without unnecessary interruptions. You must start by acquiring a fresh ream of high-quality standard sheets designed specifically for your exact machine type. Using old, wrinkled, or damp materials virtually guarantees a frustrating jam the moment the internal rollers activate. Keep your supplies stored in a cool, dry place to prevent the fibers from absorbing atmospheric moisture and curling at the edges.
You should always inspect the physical condition of the stack before moving toward the actual hardware. Discard any sheets that feature bent corners, deep creases, or visible tears along the outer edges. Starting with pristine materials provides the best possible foundation for flawless document creation and long-term hardware health.
Step 2: Access The Main Input Tray
Every machine features a distinct physical design, but you must locate the primary input area to begin the process. Look near the bottom front of standard office models for a large plastic drawer that pulls outward toward your body. Some compact home models feature a top-loading rear slot where the sheets stand vertically against a plastic support arm.
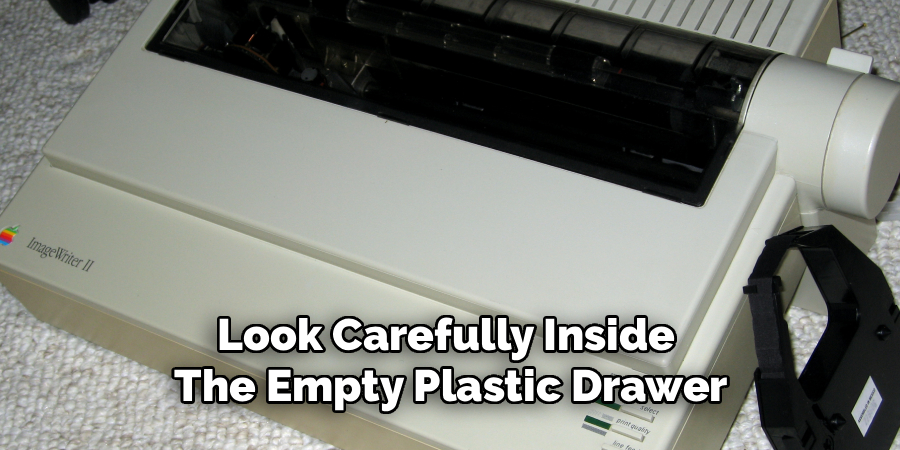
Gently pull the plastic drawer entirely open or extend the rear support arm completely until it clicks firmly into place. Never force any plastic components if they feel stuck, as these delicate parts snap easily under heavy physical pressure. Take your time opening the designated area to reveal the empty space where your new materials will eventually rest.
Step 3: Packed Inside Factory Wrappers
You cannot simply drop a solid brick of fresh sheets directly into the empty plastic tray. You must carefully fan the entire stack by holding the edges and bending the sheets back and forth several times. This critical physical action introduces microscopic pockets of air between every single sheet in the stack.
Fanning breaks the static electricity bond that naturally occurs when materials sit tightly packed inside factory wrappers. Without this essential separation step, the internal rubber rollers will inevitably grab three or four pages simultaneously. Taking five seconds to fan the stack acts as your ultimate defense against catastrophic internal hardware jams.
Step 4: Adjust The Sliding Width Guides
Look inside the empty plastic drawer or along the rear vertical slot to locate the movable plastic alignment guides. These small tabs slide left and right, and sometimes forward and backward, to accommodate different physical material sizes. You must slide these guides entirely outward to create the maximum possible space for your incoming stack.
Pushing the guides all the way open prevents the fresh sheets from bending or folding as you place them into the machine. You want the physical insertion process to feel completely frictionless and smooth from start to finish. Creating this wide-open landing zone ensures your pristine materials remain perfectly flat and completely undamaged.
Step 5: Identify The Proper Print Side
Many specialty materials, like glossy photo sheets or textured cardstock, feature one specific side engineered to receive liquid ink or toner powder. You must check the factory packaging instructions to determine exactly which side should face upward in your specific device model. Standard everyday copy sheets usually work perfectly facing either direction, but premium materials require careful orientation.
Most front-loading drawer models require you to place the printable side facing downward toward the floor. Conversely, most top-loading rear slot models require the printable side to face forward toward you. Understanding this basic physical orientation rule prevents you from wasting expensive specialty materials on smeared, unusable prints.
Step 6: Insert The Stack Carefully
With your guides open and your stack properly fanned, you can finally move the materials into the hardware. Gently lower the entire stack directly into the center of the plastic drawer, ensuring it sits completely flat against the bottom. If you use a rear top-loading slot, slide the stack down vertically until you feel the bottom edge touch the internal mechanical stops.
Never drop the stack aggressively or shove it deep into the internal mechanisms with excessive physical force. You want the sheets to rest naturally in the designated holding area without buckling in the center. Ensuring the stack sits perfectly flat guarantees the internal rubber rollers can easily grab the top sheet.
Step 7: Secure The Alignment Guides
Once the stack rests comfortably inside the machine, you must slide the plastic guides back inward. Move the side and rear tabs gently toward the stack until they just barely touch the outer edges of the sheets. The guides should hold the stack perfectly straight without actually squeezing or bowing the materials upward in the middle.

Properly positioned guides keep the sheets tracking completely straight as they travel rapidly through the internal printing mechanisms. If you leave the guides too loose, your final documents will emerge looking noticeably crooked and unprofessional. Finding the perfect balance between secure and too tight ensures flawless margin alignment on every single page.
Frequently Asked Questions
What Causes Constant Jams In The Tray?
Frequent mechanical jams almost always stem from failing to fan the fresh stack before placing it inside the machine. Static electricity bonds the sheets tightly together, forcing the delicate internal rollers to pull multiple pages at once. Storing your supplies in a highly humid environment also causes the fibers to swell and stick together aggressively. Always fan your materials thoroughly and store them in a completely dry, climate-controlled space to eliminate these frustrating daily issues.
Can I Mix Different Types In The Same Tray?
You should absolutely never mix different weights, sizes, or textures in the same active input tray simultaneously. The internal mechanical sensors calibrate themselves based on the very first sheet they touch during the print cycle. If the second sheet feels drastically thicker or wider, the machine will immediately halt operations and display a severe error code. Always empty the tray completely before switching from standard everyday sheets to premium glossy materials or thick cardstock.
Which Side Goes Face Up For Glossy Photos?
Determining the correct orientation depends entirely on the specific physical design of your personal home or office hardware. Devices with a pull-out bottom drawer typically require the glossy, printable side to face completely downward. Machines with a rear vertical slot usually require the shiny side to face directly forward toward you. You should always consult your specific user manual or look for a small engraved icon near the tray indicating the correct face orientation.
How Much Should I Insert At One Time?
Every single hardware tray features a clearly marked maximum capacity line engraved into the side plastic wall. You must never stack your materials higher than this specific physical indicator, even if it looks like more will fit. Overfilling the designated area presses the top sheets aggressively against the internal rollers, causing immediate catastrophic jams. You achieve the best long-term mechanical results by only filling the tray to roughly three-quarters of its absolute maximum capacity.
Why Is It Pulling Multiple Sheets Constantly?
When your device continuously pulls three or four pages simultaneously, the internal rubber separator pad is likely worn out or covered in dust. This small rubber piece sits beneath the rollers and provides necessary friction to hold the bottom sheets back. You can often fix this temporary issue by wiping the rubber pad gently with a lint-free cloth lightly dampened with distilled water. If cleaning does not resolve the multiple-pulling issue, you may need to order a highly inexpensive replacement pad online.
Conclusion
Taking the extra few seconds to handle your supplies correctly transforms your daily office experience from frustrating to completely seamless. You protect your valuable mechanical investment by keeping the physical guides aligned and preventing destructive multi-page jams. Now that you understand how to load paper in printer perfectly, you can confidently manage your hardware without requesting technical assistance. Stop struggling with crooked margins and constant error messages during your most important projects. Walk over to your device right now, open the plastic tray, and apply these straightforward techniques to guarantee absolutely flawless documents every single time.

About
Alexis Kerr is a distinguished figure in the world of professional workspace optimization, with a decade of expertise creating innovative and ergonomic office environments. Her professional focus lies in merging organizational psychology with modern spatial design, fostering office setups that are both high-performing and employee-centric. As the lead author for Deskvity, Alexis Kerr delves into the art and science of corporate aesthetics and functionality, inspiring office managers and remote professionals alike.
Education Cornell University
(Ithaca, New York) Bachelor of Science in Design and Environmental Analysis Focus on human factors, workplace strategy, and sustainable interior environments. Gained extensive experience in how physical space influences productivity and mental clarity.
Savannah College of Art and Design (SCAD)
(Savannah, Georgia) Master of Fine Arts in Interior Design Specialized in commercial workspace solutions with a focus on blending digital integration with physical comfort. Participated in high-level industry projects to refine the balance between corporate branding and architectural utility.
Publications and Impact
In Deskvity, Alexis Kerr shares her insights on modern workspace trends, acoustic management, and strategies for efficient layout planning. Her writing bridges the gap between high-level architectural theory and practical day-to-day office needs, making it a must-read for both facility directors and individual professionals looking to elevate their work environment.