

Creating beautiful furniture transforms a simple living space into a warm, inviting home. Many people admire natural wood aesthetics but assume building custom pieces requires decades of advanced carpentry experience. We are here to show you that building a stunning natural wood slab piece is entirely achievable for beginners. Understanding how to make live edge table gives you the power to craft a one-of-a-kind functional art piece that showcases the organic beauty of nature.
We will walk you through the entire process, breaking down each phase into simple actions that anyone can follow. You will learn everything from selecting the right materials to applying a flawless finish. By the end of this guide, you will have the confidence and knowledge needed to tackle this rewarding woodworking project.
Why You Should Build A Natural Wood Masterpiece
Choosing to build your own furniture offers incredible personal and financial benefits. Purchasing a pre-made natural slab piece from a high-end boutique often costs thousands of dollars. Crafting it yourself drastically reduces this expense while allowing you to maintain complete creative control over the final product. You get to select the exact wood species, shape, and leg style that perfectly matches your interior design preferences.
Working with natural wood also provides a deep sense of personal satisfaction and accomplishment. There is a profound joy in taking a raw, rough piece of lumber and turning it into a smooth, elegant surface where your family will gather for meals or game nights. The hands-on process allows you to connect with the materials, shaping something beautiful with your own effort. Every knot, grain pattern, and natural curve tells a unique story that mass-produced furniture simply cannot replicate.
Step-By-Step Guide To How to Make Live Edge Table
Step 1: Sourcing The Perfect Wood Slab
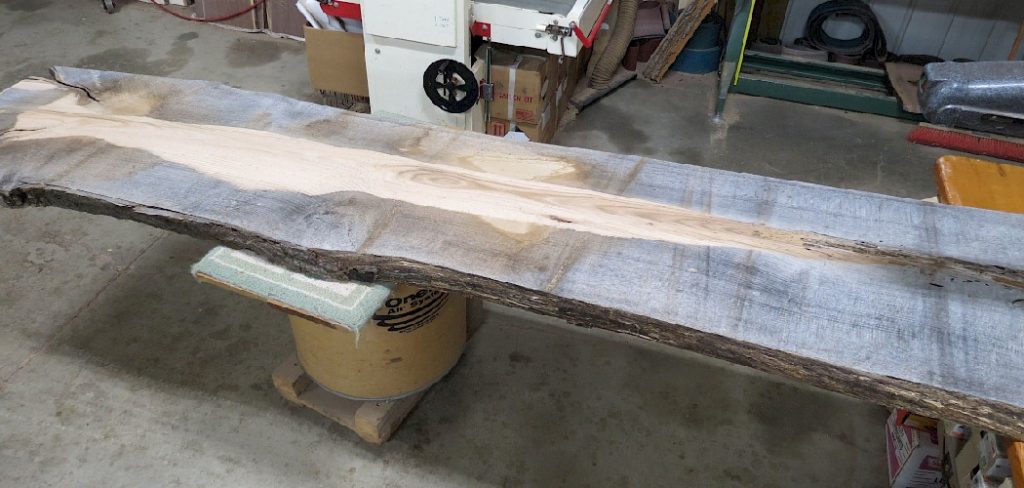
Finding the right piece of wood sets the foundation for your entire project. You should visit local lumberyards or specialty woodworking shops to browse their selection of kiln-dried slabs. Hardwoods like walnut, maple, or oak offer excellent durability and stunning grain patterns for furniture making.
Take your time examining each piece for interesting natural features, color variations, and overall shape. You must ensure the wood is properly dried to prevent future warping or cracking in your home. Ask the lumber dealer about the moisture content, aiming for a level around eight to ten percent. Selecting a high-quality, dry slab guarantees a stable and beautiful final product.
Step 2: Removing The Bark Carefully
Most raw slabs come with the original tree bark still attached to the outer edges. You must remove this bark completely because it will eventually dry out, shrink, and fall off on its own. Leaving it on ruins the structural integrity of any finish you apply later.

Grab a drawknife or a sturdy chisel and gently pry the bark away from the solid wood underneath. Work slowly and carefully to avoid gouging the actual wood surface beneath the bark layer. You want to follow the natural contours of the edge, preserving the unique organic shape of the tree. Once the heavy bark is gone, use a wire brush to clean away any remaining loose fibers.
Step 3: Sanding The Surface Smooth
Proper sanding transforms a rough piece of lumber into a polished, professional surface. When figuring out how to make live edge table, you must dedicate significant time to this critical smoothing phase. Start with a coarse sixty-grit sandpaper on a random orbital sander to flatten out any major high spots or deep saw marks.
Move the sander evenly across the entire slab, moving along with the direction of the wood grain. Do not press down too hard; let the tool do the heavy lifting. Once you remove the deepest scratches, thoroughly vacuum the surface to remove all the trapped dust. A clean surface ensures the next round of finer sandpaper works effectively without grinding old dust into the wood.
Step 4: Filling Cracks With Epoxy Resin
Natural slabs often feature deep cracks, voids, or small holes that require stabilization. Liquid epoxy resin fills these gaps perfectly, creating a smooth, functional surface while highlighting the natural imperfections. You should use a high-quality two-part epoxy system designed specifically for woodworking.
Mix the resin and hardener exactly according to the manufacturer instructions. You can leave the epoxy clear for a natural look or mix in metallic pigments for a bold pop of color. Carefully pour the mixture into the cracks, slightly overfilling them since the resin shrinks as it cures. Allow the epoxy to harden completely overnight in a warm, dust-free environment.
Step 5: Applying The Final Sanding Touches
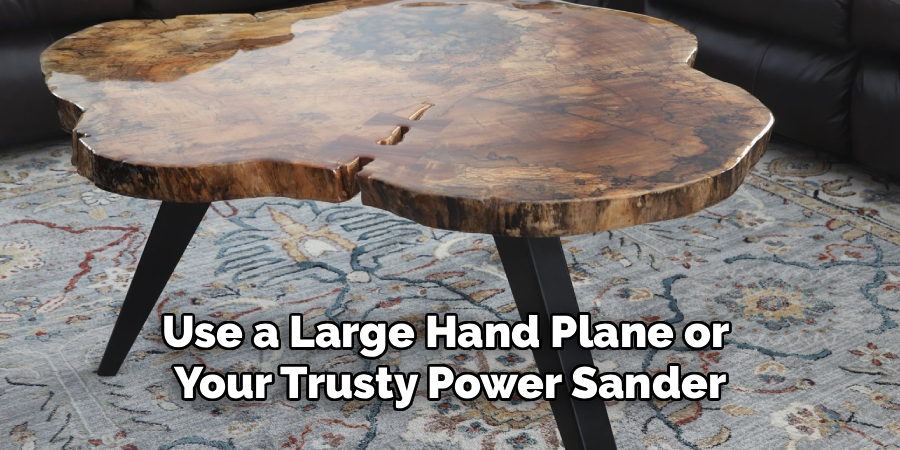
After the epoxy fully cures, you need to level it out and complete your final smoothing process. Use your random orbital sander with eighty-grit paper to grind the hardened resin down until it sits perfectly flush with the wood. It takes a little patience, but achieving a seamless transition between wood and resin looks spectacular.
Progress systematically through finer grits of sandpaper, moving from one hundred twenty to two hundred twenty grit. Sand the natural outer edges entirely by hand to maintain their delicate organic shape. Wipe the entire slab down with mineral spirits on a clean rag to reveal any hidden scratches. Your wood should now feel incredibly smooth to the touch.
Step 6: Choosing And Attaching The Legs
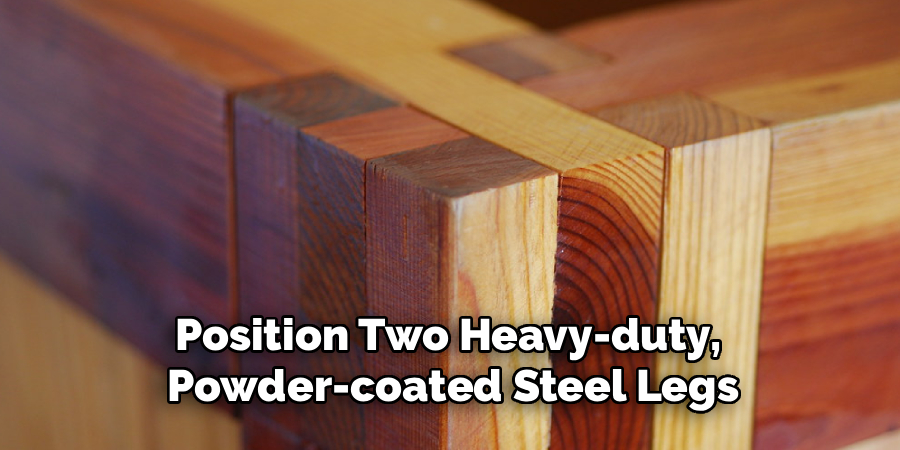
The base of your project dictates both its stability and its overall visual style. Metal hairpin legs provide a fantastic modern, industrial contrast to the rustic wood slab above. Alternatively, heavy wooden block legs offer a more traditional, sturdy aesthetic for dining room settings.
Position your legs upside down on the bottom of the slab, spacing them evenly to prevent tipping. Mark your drilling hole locations carefully with a pencil. Use a drill bit slightly smaller than your screws to create pilot holes, which prevents the dense hardwood from splitting. Secure the legs firmly using heavy-duty wood screws and washers for maximum holding power.
Step 7: Sealing The Wood For Protection
The most rewarding phase of how to make live edge table involves applying the protective finish. A good finish deepens the color of the wood grain and protects the surface from water rings and daily wear. Oil-based polyurethane or hard wax oils are highly recommended for beginners due to their easy application.
Pour a small amount of your chosen finish onto a clean, lint-free cloth and wipe it evenly across the wood. Work in long, continuous strokes following the direction of the grain. You will immediately see the rich colors and complex patterns leap to the surface. Apply thin, even coats to prevent dripping or pooling along the edges.
Step 8: Curing And Final Inspection
Patience is incredibly important during the final curing stage of your project. Even though a finish might feel dry to the touch after just a few hours, it needs several days to fully harden and cure. You should leave the piece in a well-ventilated, dry room during this critical period.
Do not place any heavy objects, hot mugs, or wet glasses on the surface until the curing process is complete. After a week, inspect your work under bright lighting to admire the smooth texture and glowing finish. You can now move your completed masterpiece into its final location in your home, ready to be enjoyed for decades.
Frequently Asked Questions
What Type Of Wood Works Best?
Hardwoods are generally the best choice for this type of furniture because they resist dents and scratches from daily use. Black walnut remains incredibly popular due to its rich, dark color and gorgeous grain patterns. Maple, oak, and cherry also provide excellent durability and beautiful aesthetics for interior furniture. Softwoods like pine are cheaper but scratch very easily, making them less ideal for high-traffic dining or coffee surfaces.
Do I Have To Remove The Bark?
Yes, you must almost always remove the bark from your wood slab. As the wood continues to dry and age inside your climate-controlled home, the bark shrinks at a different rate than the solid wood. This causes the bark to loosen, crumble, and eventually fall off entirely. Removing it early ensures your protective finish bonds directly to the solid wood, creating a permanent and durable edge.
How Long Does The Epoxy Take To Dry?
The drying time for epoxy resin depends heavily on the specific brand and the temperature of your workspace. Most standard two-part woodworking epoxies require at least twenty-four to forty-eight hours to cure completely. A warmer room speeds up the chemical reaction, while a cold garage can significantly delay the hardening process. You must wait until the resin is rock hard before attempting to sand it level with the wood.
What Kind Of Finish Should I Use?
Your choice of finish depends on how much wear and tear the piece will endure. For high-use dining surfaces, a wipe-on oil-based polyurethane provides excellent protection against moisture and scratches. If you prefer a more natural, matte look that you can easily repair, hard wax oils are a fantastic alternative. Both options highlight the natural beauty of the grain while sealing the porous wood fibers from external damage.
How Do I Prevent The Wood From Warping?
Preventing wood from warping starts with purchasing a slab that has been properly kiln-dried to a low moisture content. You also need to finish both the top and the bottom of the slab equally to prevent uneven moisture absorption from the air. Adding sturdy metal C-channels carved into the underside of the wood provides massive structural support. Keeping your home at a consistent humidity level also stops the wood from expanding and contracting drastically.
Conclusion
Building your own custom furniture brings immense satisfaction and incredible beauty into your daily life. By taking the time to source quality materials, sand the surface meticulously, and apply a durable finish, you guarantee a professional result. The effort you put into preserving the organic edge of the wood pays off every time you look at the unique, flowing lines of your centerpiece. Now that you understand how to make live edge table, it is time to visit your local lumberyard and select your perfect slab. Pick up your tools, embrace the creative process, and start crafting a stunning wooden heirloom that your family will treasure forever.
