

A beautiful epoxy table serves as a stunning centerpiece in any dining room, workspace, or living area.
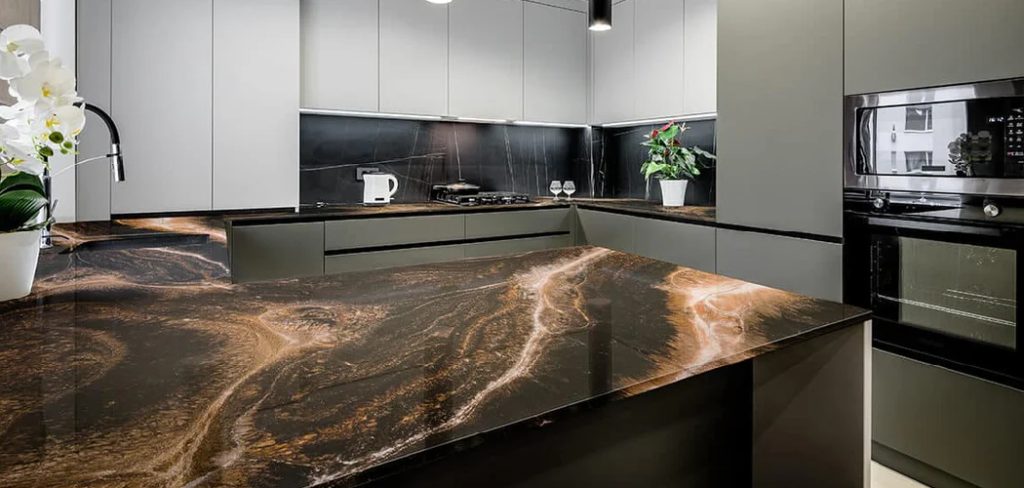
Over time, heavy use, accidental spills, or dropped items can leave your once-pristine surface with scratches, dents, or dull spots. You do not have to live with these imperfections or throw the table away. Restoring an epoxy surface requires patience, the right materials, and a systematic approach.
This complete guide on how to repair epoxy table top provides everything you need to bring your piece back to its original glory.
What Will You Need?
Gathering your supplies before you begin ensures a smooth, uninterrupted workflow. Having everything within reach prevents the epoxy from curing before you are ready.
Essential Tools and Materials:
- Safety Gear: Nitrile gloves, safety goggles, and a respirator mask to protect against fumes and dust.
- Cleaning Supplies: Isopropyl alcohol (90% or higher), mild dish soap, warm water, lint-free microfiber cloths, and tack cloths for dust removal.
- Abrasives: Orbital sander with a range of sandpaper grits (120, 220, 320, 400, 600, 800, 1000, 1500, 2000, and 3000).
- Epoxy Supplies: High-quality, clear tabletop epoxy resin (resin and hardener), graduated mixing cups, and wooden or silicone stir sticks.
- Application Tools: Plastic spreaders or a squeegee, and a foam brush.
- Bubble Removal: A heat gun or a small butane torch.
- Finishing Materials: Polishing compound, a buffing pad, and an electric polisher or drill attachment.
- Preparation: Painter’s tape or sheathing tape, and plastic drop cloths to protect your floors.
10 Easy Steps on How to Repair Epoxy Table Top
Restoring your table requires a methodical approach. Follow these ten steps to ensure a seamless, durable, and glossy finish.
Step 1: Assess the Damage
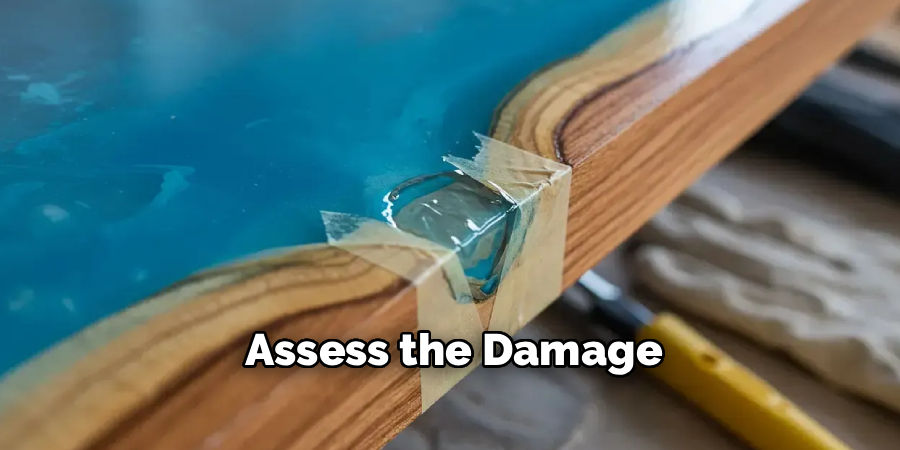
Carefully inspect the entire surface of the table under bright, direct lighting. You need to understand the depth and extent of the damage before you begin. Light surface scratches require a different approach than deep gouges or chips. Run your fingers over the imperfections. If your fingernail catches on a scratch, it means the damage goes deeper into the resin layer and requires thorough sanding and a fresh pour. If the surface is merely dull or has microscopic scuffs, you might only need to proceed to the higher-grit sanding and polishing stages. Mark the deeply damaged areas with a small piece of painter’s tape nearby so you do not lose track of them once you begin the physical work. Understanding the scope of the project allows you to plan your time and material usage efficiently.
Step 2: Clean the Surface Thoroughly
Never sand or apply new resin over a dirty surface. Dirt, oils from your skin, spilled food residue, and dust will compromise the bond between the old and new epoxy. Start by washing the entire table top with a mixture of warm water and mild dish soap.Use a soft sponge to break down any stubborn grime. Wipe the table completely dry with a clean microfiber towel. Next, apply generous amounts of 90% isopropyl alcohol to a fresh, lint-free rag and wipe down the entire surface again. The alcohol cuts through lingering greases and evaporates quickly without leaving a film. Wait at least fifteen minutes for the table to dry perfectly. A pristine surface guarantees that your subsequent sanding efforts will not push contaminants deeper into the existing resin layer.
Step 3: Tape the Edges
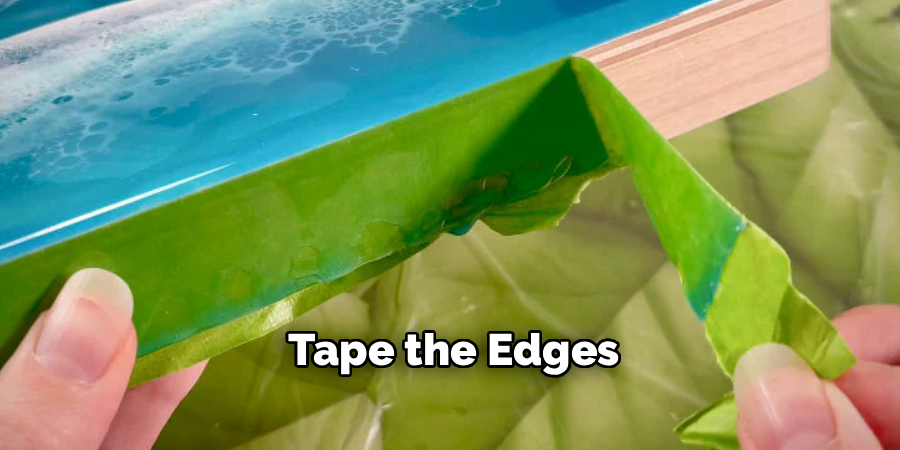
Protecting the edges and the underside of your table is crucial, especially if you plan to pour a new layer of resin over the damaged section. Use high-quality painter’s tape or specialized sheathing tape to create a barrier around the perimeter. If you are doing a localized repair on a flat surface, tape off the surrounding areas to prevent accidental scratching from your sander. If you intend to pour a flood coat to resurface the entire top, build a firm tape dam around the edges. Press the tape firmly against the wood and resin boundaries to prevent leaks. Lay plastic drop cloths on the floor directly beneath the workspace. Resin drips are notoriously difficult to remove from carpet, tile, or hardwood floors once they cure. Proper preparation keeps the mess contained.
Step 4: Sand the Damaged Area
Sanding removes the damaged layer and creates a textured profile, known as a mechanical tooth, which allows the new epoxy to adhere properly. Put on your respirator mask and safety goggles. Attach a 120-grit sanding disc to your orbital sander. Gently sand the gouged or scratched areas, keeping the sander moving constantly to avoid digging a trench into the table. Once the deep scratches are leveled out, switch to 220-grit sandpaper, and then to 320-grit. Sand an area slightly larger than the repair zone to ensure a smooth transition. The epoxy will look cloudy, white, and completely opaque at this stage. This is a normal part of the process and indicates that the surface is properly scuffed. Do not apply excessive downward pressure; let the weight of the sander do the work.
Step 5: Remove Dust and Debris
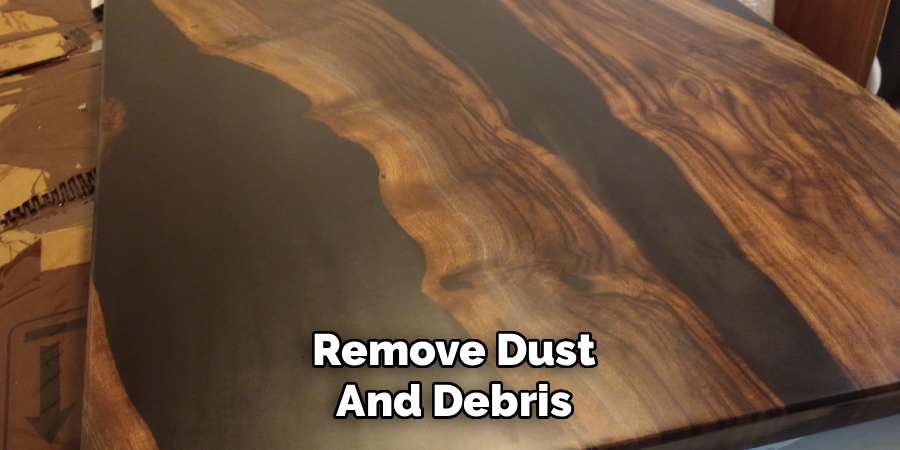
The sanding process generates an enormous amount of fine, white powder. This dust is the biggest enemy of a flawless epoxy finish. Use a shop vacuum with a brush attachment to gently remove the bulk of the loose particles from the table top and the surrounding tape. Once you have vacuumed the area, wipe the surface down with a damp microfiber cloth. Let the moisture evaporate completely. Finally, gently drag a tack cloth across the entire surface. A tack cloth contains a mild adhesive that picks up microscopic dust particles that the vacuum and damp rag left behind. Inspect the surface closely from different angles to ensure absolutely no debris remains. Any trapped dust will show up as a permanent blemish in your fresh resin.
Step 6: Mix the Epoxy Resin
Accurate measurement and thorough mixing are the most critical parts of working with epoxy. Read the manufacturer’s instructions carefully, as different brands require specific mixing ratios (usually 1:1 or 2:1 by volume). Pour the exact amount of resin into a graduated mixing cup, followed by the precise amount of hardener. Use a wooden or silicone stir stick to mix the two components slowly and deliberately. Scrape the sides and the bottom of the cup repeatedly to ensure all unmixed material is integrated. Mix for at least three to five minutes. Pouring unmixed resin onto your table will result in sticky, soft spots that will never cure. To be absolutely safe, pour the mixed resin into a second clean cup and mix it for another minute before applying it.
Step 7: Apply the Epoxy to the Table

With your resin perfectly mixed, it is time to apply it to the damaged area. If you are filling a deep gouge, use a stir stick to carefully drip the epoxy directly into the cavity, slightly overfilling it to account for shrinkage as it levels out. If you are resurfacing a larger scuffed area, pour the epoxy into the center of the repair zone. Use a plastic spreader or a squeegee to gently push the resin outward, feathering the edges so it blends with the surrounding table surface. Work efficiently but calmly, as tabletop epoxies typically give you a working window of twenty to forty minutes before they begin to thicken and gel. Ensure the new resin fully covers the sanded area and overlaps slightly onto the untouched, glossy sections.
Step 8: Remove Air Bubbles
The mixing process inevitably introduces hundreds of tiny air bubbles into the resin. As the epoxy sits on the table, these bubbles will naturally rise to the surface. Wait about five to ten minutes after applying the resin to allow the bubbles to surface. Turn on your heat gun or light your small butane torch. Hold the heat source about six to eight inches above the wet epoxy. Keep it moving continuously in a sweeping motion; never hold the heat in one spot for more than a second or two. The heat thins the surface tension of the resin, causing the bubbles to pop instantly. You will see the cloudy areas suddenly become crystal clear. Repeat this process every ten minutes for the first half hour to catch late-rising bubbles.
Step 9: Allow the Epoxy to Cure
Patience is absolutely vital during the curing phase. The newly applied epoxy must remain undisturbed in a dust-free environment with a stable room temperature. Ideal curing temperatures usually range between 70 and 80 degrees Fahrenheit. Close the windows and turn off any ceiling fans in the room to prevent airborne dust from settling on the wet surface. You may want to build a makeshift tent out of plastic sheeting or place a large cardboard box over the table to protect it. Leave the table alone for at least 24 to 72 hours, depending on the specific product’s instructions. Do not touch the surface to check if it is dry, as you will leave a permanent fingerprint in the semi-cured resin. Wait the full recommended time.
Step 10: Sand and Polish for a Perfect Finish
Once the new epoxy is rock hard, you must blend it into the rest of the table. Start wet-sanding the repaired area with 600-grit sandpaper, moving sequentially up through 800, 1000, 1500, 2000, and finally 3000-grit. Wet sanding prevents the friction from overheating the resin. Wipe the surface clean between each grit change. After finishing with the 3000-grit paper, the surface will feel incredibly smooth but will have a satin finish. Apply a quarter-sized drop of automotive polishing compound to the surface. Use a buffing pad on an electric polisher or drill on a medium speed to work the compound into the epoxy. Buff the area until the deep, glass-like shine returns, seamlessly blending your repair with the original table top.
5 Things You Should Avoid
Repairing epoxy is straightforward, but certain missteps can ruin the project. Avoid these common pitfalls to guarantee success.
1. Ignoring Room Temperature
Epoxy resin is highly sensitive to temperature fluctuations. Applying resin in a cold room causes it to become thick, making it difficult to spread and trapping hundreds of micro-bubbles that a torch cannot remove. Conversely, extreme heat causes the resin to flash-cure, giving you almost zero working time. Always maintain a stable environment around 75 degrees Fahrenheit.
2. Estimating the Mix Ratio
Never eyeball the amounts of resin and hardener. Epoxy relies on a precise chemical reaction to harden. If you add too much hardener, thinking it will cure faster, or too much resin by accident, you will be left with a tacky, soft mess that requires scraping off and starting over. Always use proper measuring cups.
3. Skipping the Prep Work
Failing to clean and sand the surface adequately is the primary reason repairs fail. Resin will simply peel away from a glossy, dirty, or oily surface. The mechanical tooth created by sanding is non-negotiable. Take your time during the preparation phase to ensure a permanent bond.
4. Over-Torching the Resin
While a torch is necessary for popping bubbles, applying too much heat scorches the epoxy. Scorch marks turn the clear resin yellow or brown and can cause the surface to ripple and distort. Keep the torch moving rapidly and keep it at a safe distance from the surface.
5. Working in Poorly Ventilated Areas
Epoxy resins emit volatile organic compounds (VOCs) during the mixing and curing process. Breathing these fumes causes respiratory irritation and severe headaches. Never work in a closed, unventilated room. Open windows (if dust is not an issue), use exhaust fans, and always wear a properly fitted respirator.
Conclusion
How to repair epoxy table top is a highly rewarding endeavor that restores the life and luster of your favorite furniture piece.
By understanding the damage, gathering the correct tools, and strictly following the procedural steps, you can achieve professional-grade results in your own home. Remember that patience is your best tool—taking your time during the sanding, mixing, and curing phases guarantees a flawless finish.
Avoid cutting corners on preparation and measurements, and do not hesitate to embrace the learning process. With careful effort and attention to detail, your beautiful epoxy table will look brand new and continue to impress your guests for years to come.
